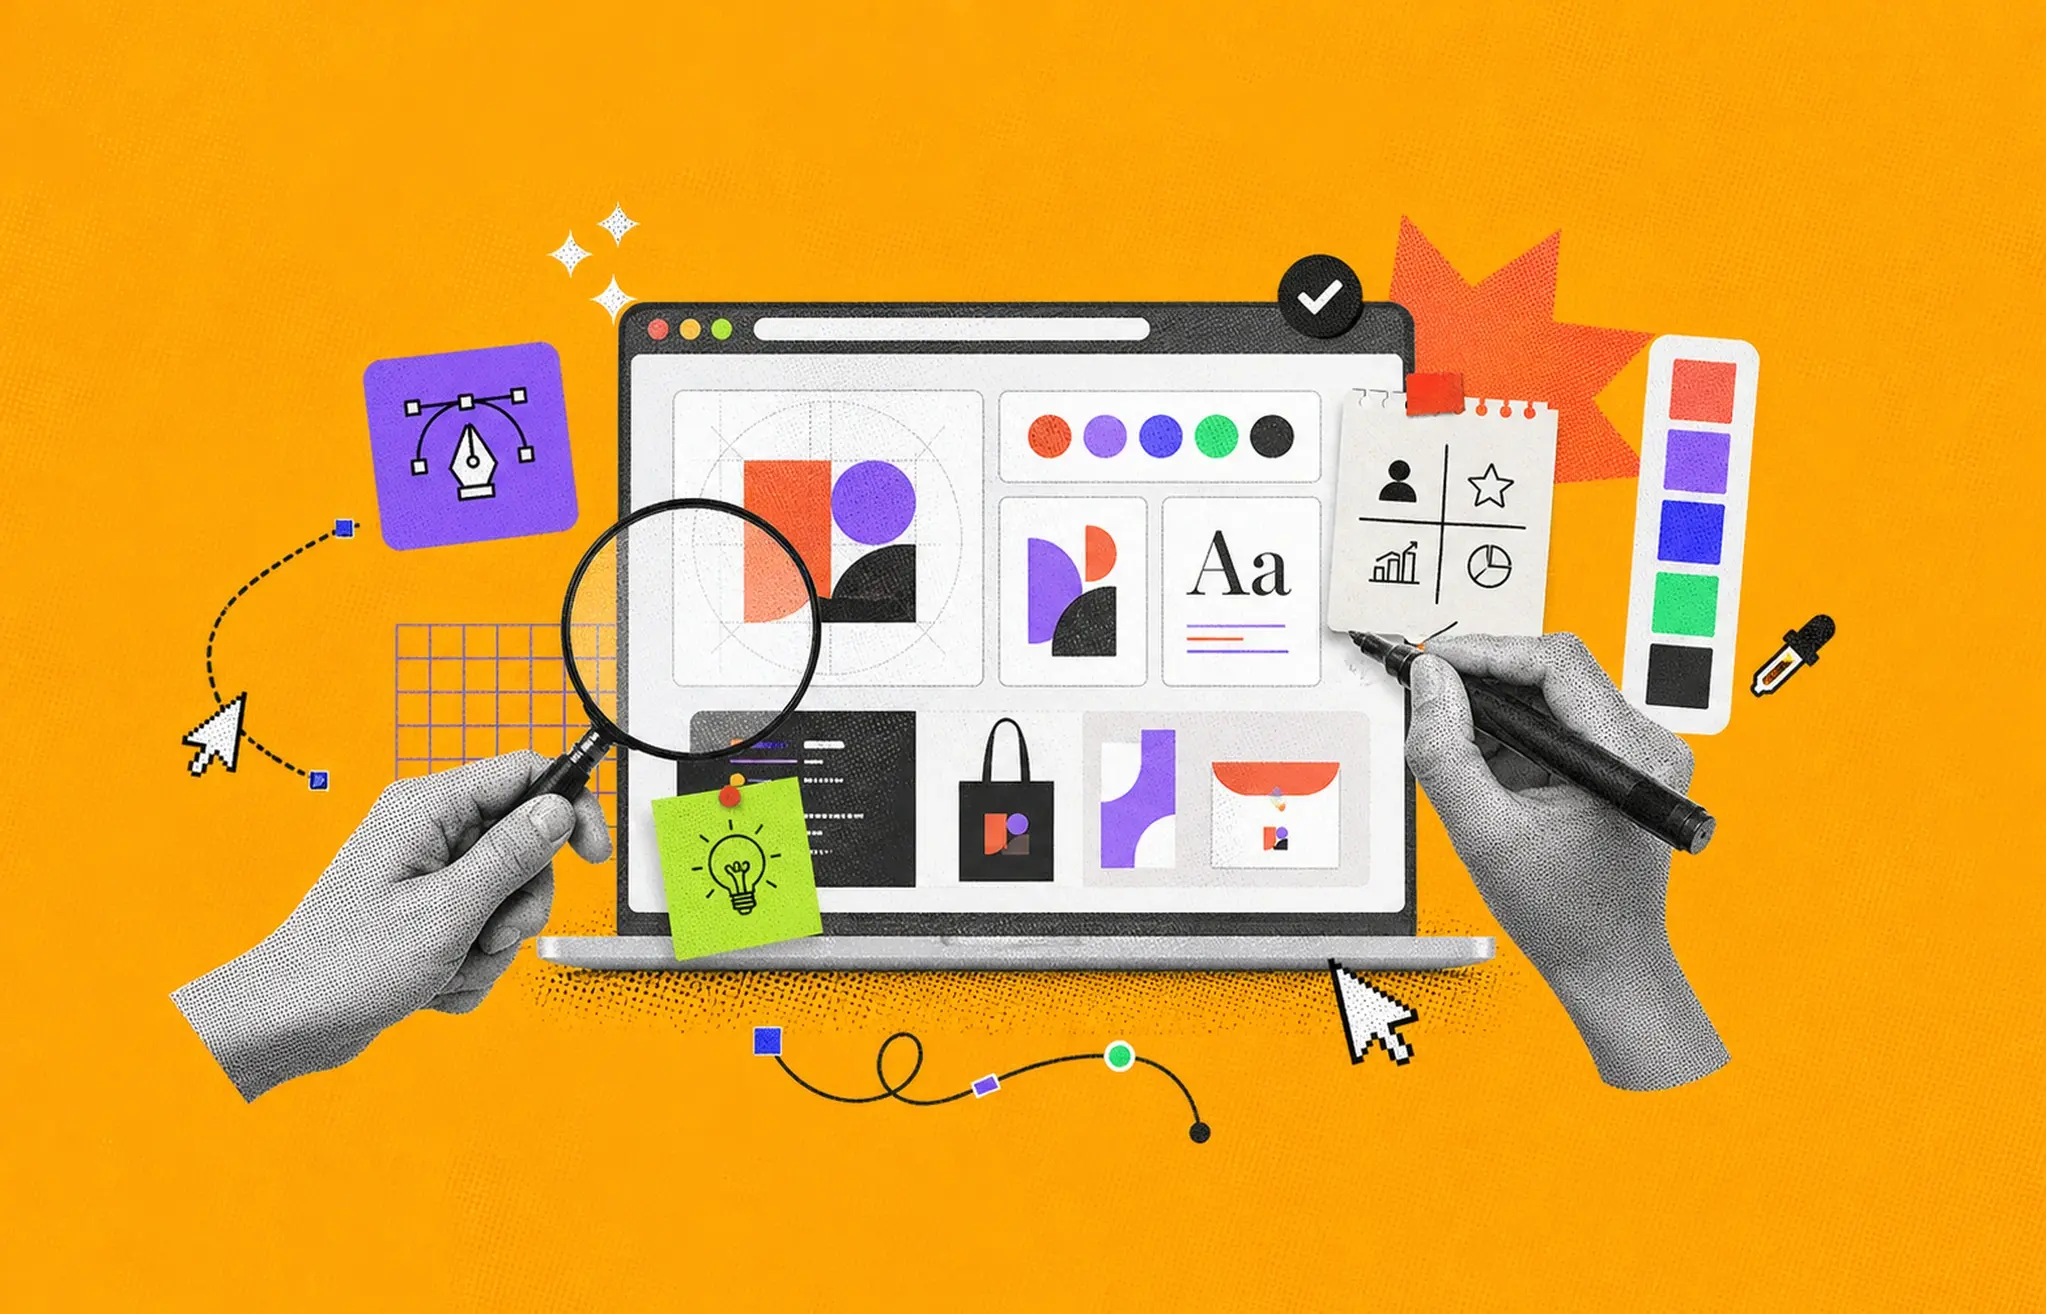
Low-fidelity prototyping is an essential step in the design process that focuses on creating simple, rough product versions to visualize ideas and gather feedback. Unlike high-fidelity designs, it emphasizes structure and functionality over aesthetics, allowing quick iterations and cost-effective testing. This fidelity is ideal for brainstorming, user testing, and collaborating with teams and stakeholders.
Using essential tools like pen and paper or simple digital platforms allows designers to explore concepts and identify potential improvements early on. Also, it is a practical and efficient method to lay the groundwork for polished and successful final products. Let's understand the basics of low-fidelity prototyping, its types, benefits, and more.
Fidelity measures how accurately a prototype or design represents the final product or concept. It describes a prototype's level of detail, realism, and functionality compared to the finished version. Fidelity is crucial in determining how effectively ideas can be communicated and validated during design.
Prototypes can range from low to high fidelity, depending on their purpose. Low-fidelity prototypes are simple, cost-effective tools used for brainstorming and gathering early feedback. They are often quick sketches or basic wireframes that prioritize functionality over aesthetics. They are ideal for testing concepts without requiring significant investment.
In contrast, high-fidelity prototypes are polished and closely mimic the final product. They include realistic visual designs, actual content, and interactive elements, making them valuable for usability testing and stakeholder presentations. High fidelity typically comes later in the process, after validating key decisions.
Fidelity in a prototype can depend on several factors:
The appropriate level of fidelity depends on the stage of development and the goals of the prototype. Whether low or high, fidelity is a tool for crafting better user experiences.
Low-fidelity prototyping creates simple, rough, and often hand-drawn representations of a product or design. Rather than detailed aesthetics, it focuses on basic structure, layout, and functionality.
These prototypes are used in the early stages of the design process to visualize concepts, test ideas, and gather feedback quickly and cost-effectively. Tools like pen and paper, whiteboards, or essential digital platforms like Balsamiq or Figma are commonly used for low-fidelity prototyping.
This approach allows designers, developers, and stakeholders to identify potential issues and refine ideas without investing significant time or resources. While lacking detail, low-fidelity prototypes are invaluable for brainstorming, testing, and ensuring that the core concept aligns with user needs and expectations.

Low-fidelity prototypes are straightforward early versions of your design ideas, crucial for testing and iterating quickly in the initial phases of a project. Here are two common types:
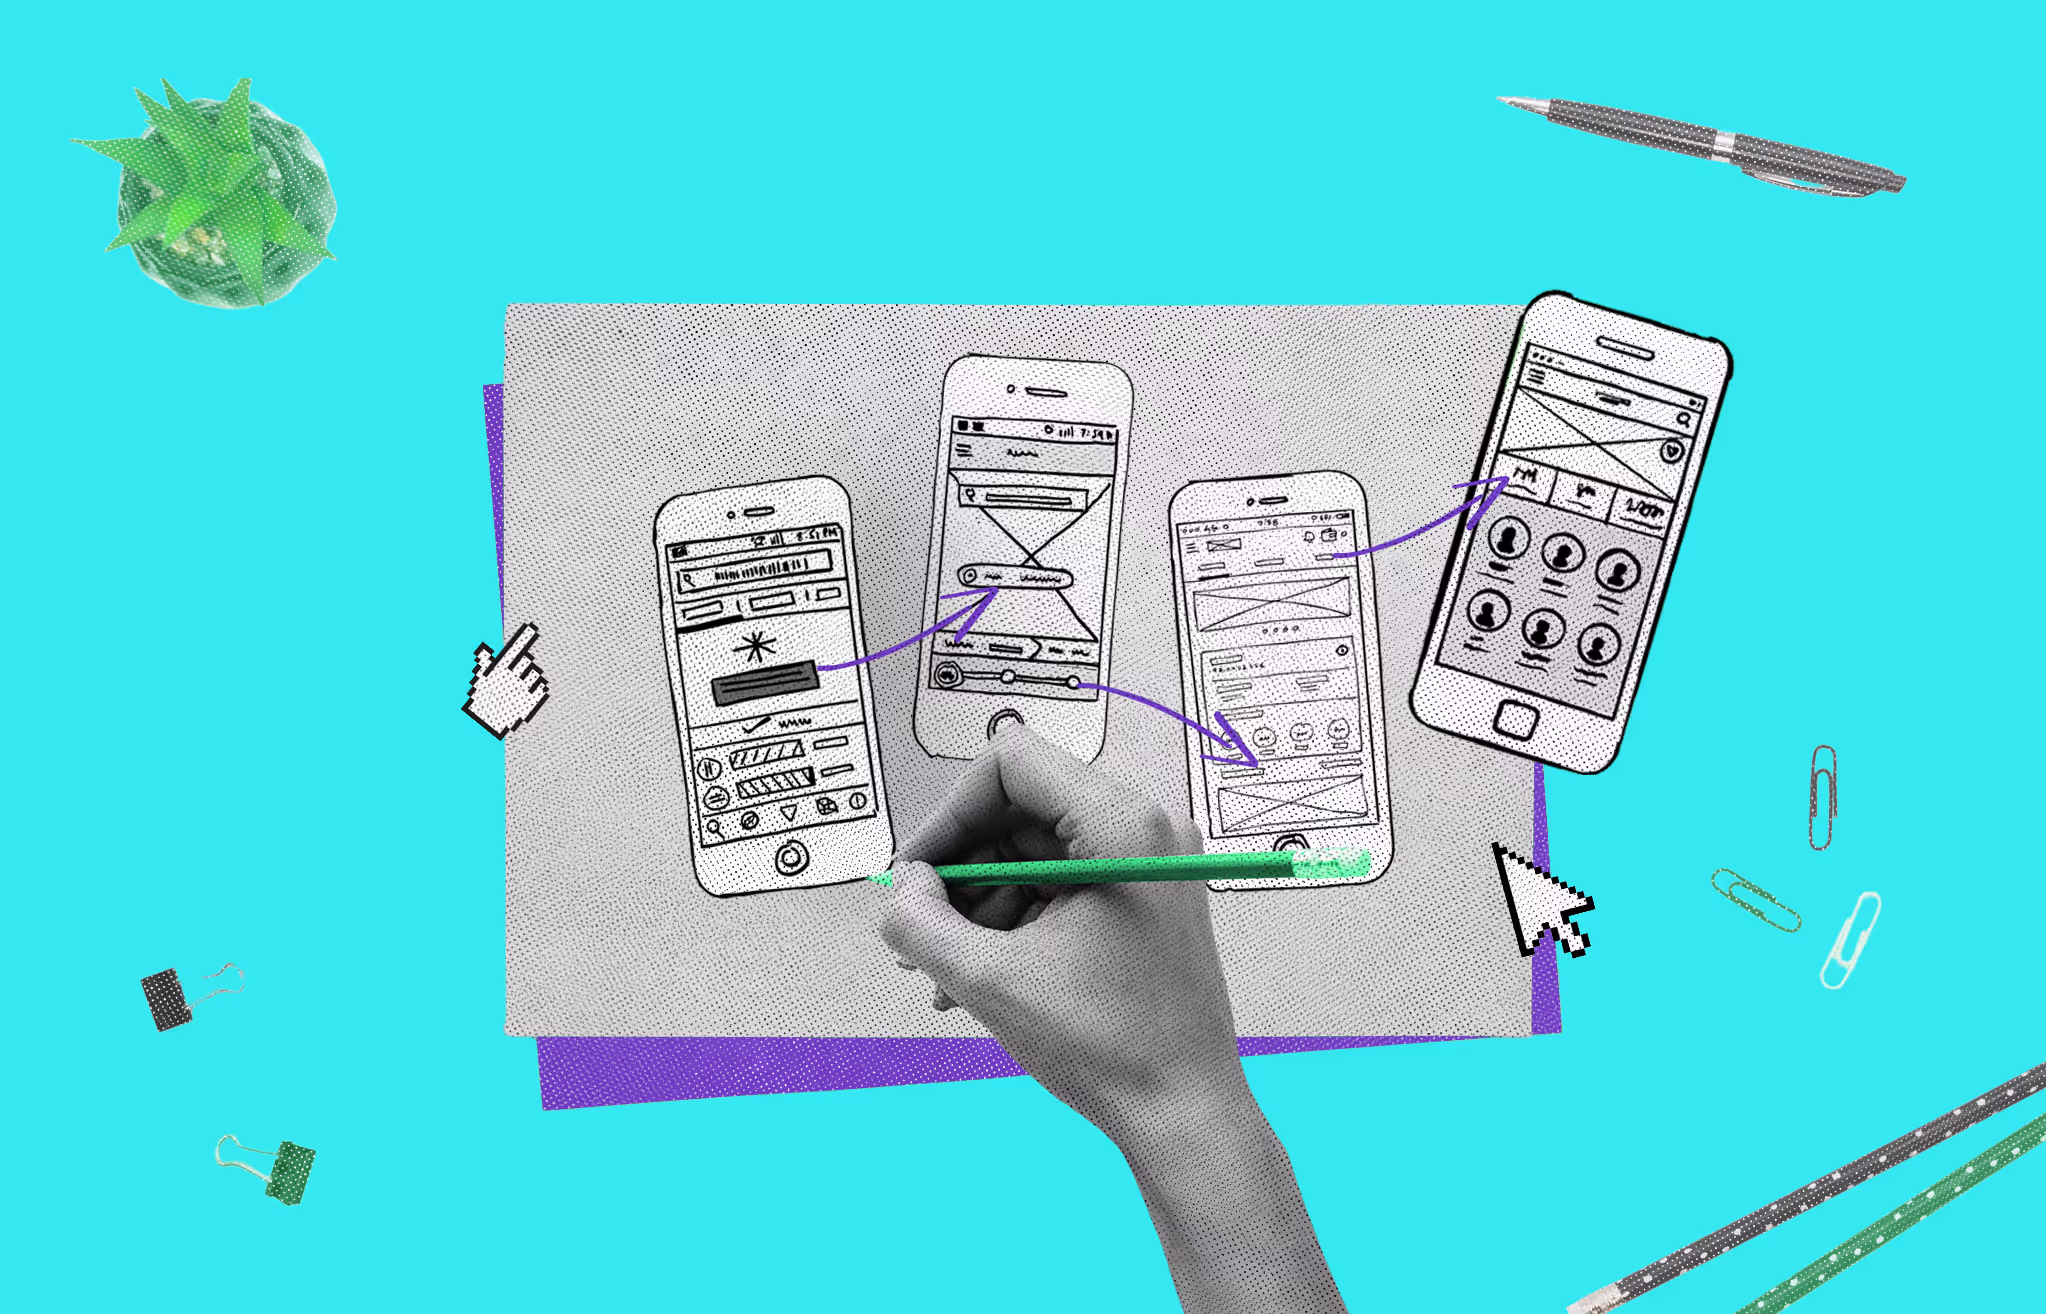
Paper prototyping involves sketching basic user interfaces on paper or a whiteboard. This method allows designers and stakeholders to rapidly brainstorm and modify ideas for new or improved user experiences. It's especially effective for small teams because it encourages quick feedback and iteration without the need for complex tools. Paper prototypes are best for face-to-face interactions. and make them ideal for collecting immediate and direct responses from team members.
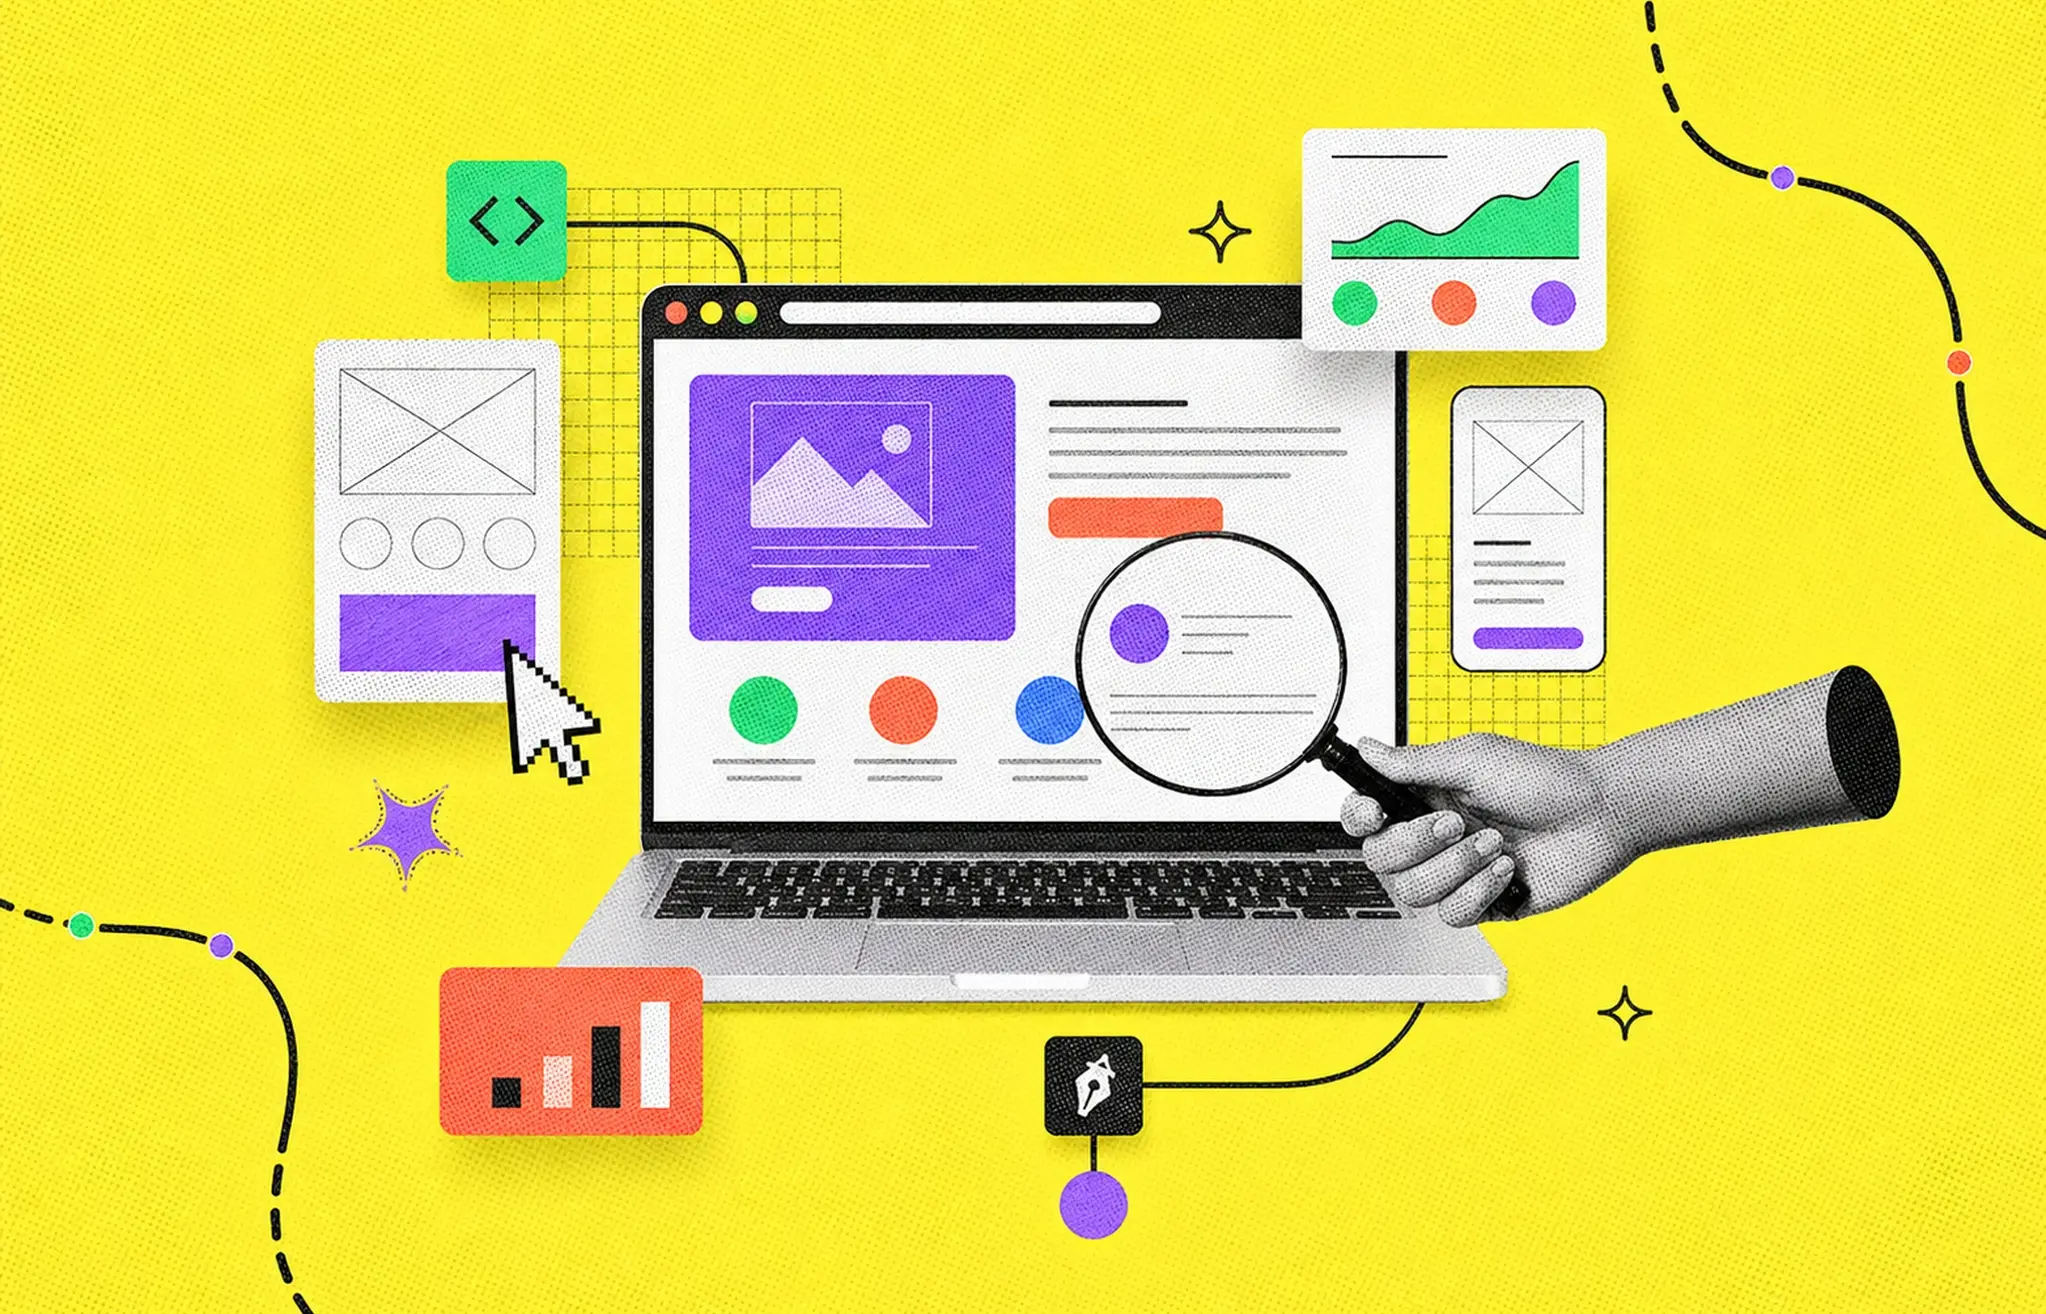
Wireframes provide a basic digital sketch of a page's layout. They are essential for planning the placement of elements on a webpage or app without focusing on aesthetic details like colors or typefaces.
By laying out the structure, wireframes help visualize the user journey and interaction points within the application, making them a vital tool for usability testing. Tools like Figma offer wireframing capabilities that integrate seamlessly with design systems, ensuring consistency and efficiency as the project moves from concept to final design.
Low-fidelity prototyping is a crucial technique in the design and development process. Designers use simple, non-digital representations of a product to concentrate on essential features and user interactions. Here are some of the key usage of low-fidelity prototyping:
During the initial stages of product development, low-fidelity prototypes, such as sketches or paper models, allow teams to quickly brainstorm and visualize various concepts. This approach fosters creativity and facilitates the rapid iteration of ideas, helping to identify promising directions early on.
Engaging users with low-fidelity prototypes provides valuable insights into their needs and expectations. Since these prototypes are simple and easy to modify, incorporating user feedback becomes straightforward, ensuring the design aligns with user requirements from the outset.
Low-fidelity prototypes are instrumental in assessing a design's usability. By simulating user interactions through basic models, designers can identify and address potential usability issues before investing in high-fidelity prototypes or final products.
These prototypes are tangible tools that bridge communication between designers, developers, and stakeholders. They provide a common reference point, making discussing functionalities, user flows, and design decisions easier without technical jargon.
Creating low-fidelity prototypes requires minimal resources and time. This efficiency allows teams to test multiple ideas without significant financial investment, reducing the risk of costly changes during later stages of development.
Low-fidelity prototypes lay the groundwork for more detailed and functional high-fidelity prototypes. By resolving major design issues early, the transition to high-fidelity models becomes smoother and more focused on refinement rather than fundamental changes.

Low-fidelity prototyping, which focuses on creating simple and rough product versions, is a highly effective and efficient approach. Below are eight key benefits of low-fidelity prototyping and why it should be essential in your design and development process.
Low-fidelity prototyping is speedy compared to traditional product development. Instead of spending months on a polished product, you can create a basic prototype in days or weeks. This allows teams to gather feedback quickly and iterate based on user insights. The speed of creating and modifying these prototypes ensures that potential issues are identified and addressed early, keeping the project agile and adaptable.
One of the most significant advantages of low-fidelity prototyping is its ability to save money. Instead of investing heavily in building a fully developed product that might not meet user expectations, low-fidelity prototypes provide a cheaper alternative to test ideas. You can avoid costly mistakes by gathering feedback early and ensuring the concept aligns with user needs before committing to high-fidelity or final versions.
User feedback is crucial to the success of any product. Low-fidelity prototypes simplify this process by presenting simplified product versions to stakeholders and users. During user testing, these prototypes encourage candid and actionable feedback without overwhelming users with excessive details. Questions such as “Is this what you need?” or “Have we left out anything?” help refine the product to meet expectations.
Low-fidelity prototypes serve as a reference point for all team members and stakeholders. They act as documentation that outlines the project's direction and reduces the likelihood of misunderstandings. Stakeholders can visualize the concept, provide feedback, and reach a consensus early in the process. This alignment eliminates unnecessary debates and ensures everyone is on the same page before moving forward.
In agile development, quick iterations and continuous improvement are key. Low-fidelity prototyping aligns perfectly with this methodology by allowing teams to test features, gather feedback, and make real-time adjustments. Unlike the rigid waterfall approach, where the entire product is built before feedback is considered, low-fidelity prototyping fosters flexibility, ensuring the final product is relevant and user-focused.
Creating a low-fidelity prototype is also an opportunity to test how well your team collaborates. Whether you're working with co-founders, investors, or external agencies, the process reveals insights into communication styles, efficiency, and workflows. It's a low-risk way to assess team dynamics and ensure everyone is aligned before making significant financial or time commitments.
Low-fidelity prototypes remove the pressure of creating a perfect design and encourage creativity by focusing on core functionality and user experience. Designers and developers can experiment with ideas freely, exploring multiple directions without fear of wasting resources. This experimentation fosters innovation, often leading to solutions that might not have emerged in a high-stakes environment.
Building a low-fidelity prototype is more than just a design step, it reflects your dedication to solving a problem and meeting the needs of your target audience. The process requires time, energy, and effort, helping you gauge your commitment to the product and its potential. It's a way to test your resolve and ensure you’re ready to invest further in the idea.
Creating a low-fidelity prototype is a fundamental step in the design process, enabling designers to visualize ideas, gather feedback, and refine concepts. These quick, cost-effective prototypes are essential for testing early design concepts. Here's a step-by-step guide to building a low-fidelity prototype:
The first step is to define the prototype's purpose. Are you designing a user registration flow, testing a navigation structure, or exploring a new feature? Clearly outline what you aim to achieve. List all the key components or user interactions the prototype will cover. One prototype may encompass multiple user processes for simple products, but for more complex designs, focus on specific user flows or components.
Example: If you're prototyping a login process, your objective could be to validate whether users can intuitively navigate from the login page to their dashboard.
Decide how much detail you want to include. There's no strict rule for this, but the level of detail should align with your team's preferences and the time available. Use basic shapes and handwritten labels or include slightly more detailed elements like text boxes and placeholders. Avoid excessive details, as they can detract from the core purpose of a low-fidelity prototype: quick testing and iteration.
Tips:
Select a method or tool that fits your requirements. For informal brainstorming sessions, a whiteboard or paper sketches work well. Consider using digital design tools like Figma, Balsamiq, or Adobe XD for more detailed prototypes. These tools offer collaborative features, making involving your team and stakeholders easier.
Examples of Tools:
Start converting your ideas into a visual model. Begin by sketching or designing the structure of the user flow. Use low-fidelity elements like basic shapes, labels, and placeholder images. Focus on functionality and usability rather than aesthetics. This ensures you stay aligned with the prototype's primary goal: to test concepts.
Key Features of a Low-Fidelity Prototype:
Once the prototype is ready, test it with your intended audience or team. Ensure it effectively communicates the intended user flow or concept. The graphics and structure should be clear and easily understood without additional explanation.
Checklist for Evaluation:
Testing doesn't have to be formal; simple user interactions and observations can provide valuable insights.
After evaluating the prototype internally, present it to stakeholders or target users. Share your design goals and gather input to identify areas for improvement. Encourage feedback by asking specific questions like:
Document all feedback for the next iteration.
Based on the feedback, refine your low-fidelity prototype to address any issues or improve user flow. Alternatively, if the concept is validated and ready for further development, use the insights gained to transition into a high-fidelity prototype.
Low-fidelity prototyping is an iterative process. Once the current version has served its purpose, use it as a foundation for building more advanced prototypes. By incorporating stakeholder feedback early, you ensure the design aligns with user needs and minimizes costly revisions later in development.
Low-fidelity and high-fidelity prototypes differ primarily in detail, interactivity, and purpose. Low-fidelity prototypes are simple and basic, often consisting of wireframes or sketches with placeholders representing components.
They focus on presenting user flows and core functionalities without detailed visuals. In contrast, high-fidelity prototypes are polished and closely resemble the final product, featuring refined visuals, typography, branding, and realistic content.
The level of interactivity also sets them apart. Low-fidelity prototypes provide minimal interactivity, primarily focusing on navigation and general user paths. On the other hand, high-fidelity prototypes are fully interactive, mimicking real user interactions and behaviors.
The purpose of each prototype is also distinct. Low-fidelity prototypes are used during the initial stages of design for brainstorming, early validation, and quickly gathering feedback. High-fidelity prototypes are more suitable for usability testing, stakeholder presentations, and final product fine-tuning.
Regarding time and cost, low-fidelity prototypes are quick and inexpensive, created using essential tools like pen and paper or simple digital software. High-fidelity prototypes are more time-intensive and costly, requiring advanced tools and often developer involvement.
Lastly, user perception plays a significant role. Low-fidelity prototypes direct user focus toward functionality and flow, whereas high-fidelity prototypes make users evaluate the overall experience, including visual design and usability. This clear distinction ensures that both prototypes serve their intended roles effectively during different stages of the design process.
Low-fidelity prototyping is a powerful tool for turning ideas into actionable designs. It simplifies the design process, allowing teams to test and refine concepts quickly and affordably. Focusing on functionality and structure ensures the design aligns with user needs from the start.
This approach lays a solid foundation for more detailed prototypes and a successful final product. With its ability to save time, reduce costs, and encourage collaboration, low-fidelity prototyping is essential for any design process aiming to deliver impactful results.
Low-fidelity prototypes are commonly used by UX/UI designers, product managers, and development teams. They are also valuable tools for brainstorming sessions with stakeholders or gathering feedback from potential users during early design stages.
Yes, low-fidelity prototypes are often used in usability testing to gather insights about the product's layout, navigation, and functionality. While they lack detailed aesthetics, they provide enough structure for users to understand and interact with the design concept.
One key limitation of low-fidelity prototypes is their lack of detail, which can sometimes make it challenging for stakeholders to fully grasp the final product's look and feel. Additionally, they may not effectively demonstrate complex interactions or workflows, which might require more advanced prototyping methods.
Low-fidelity prototypes serve as the foundation of the design process. They precede mid and high-fidelity prototypes, allowing teams to refine ideas and address potential issues early. This iterative approach saves time, reduces costs, and ensures the final product meets user needs and expectations.
Creating a low-fidelity prototype is usually quick and can take anywhere from a few minutes to a couple of hours, depending on the complexity of the idea. This approach's simplicity allows teams to focus on rapid iterations and adjustments without investing significant time or resources.
Low-fidelity prototypes are ideal for projects in their conceptual or early design stages. They work particularly well for brainstorming new app designs, website layouts, or innovative workflows, where feedback and collaboration are crucial for refining ideas before committing to detailed development.


An Experience Design Agency focusing on building functional, simple, human-centered digital products for future.